If you are following the root guides and are having issues with it try the downloads here.
USB Drivers for Android devices (All)
When you connect the device to your computer (PC) to be rooted it needs to have the correct USB drivers installed on the computer so that it can be recognised and rooting can take place.You can download your USB drivers according to device manufacturer below:
- Acer
- ASUS
- Dell
- Huawei
- HTC
- Intel
- Lenevo
- LG (type in or select your device model and pick the USB driver)
- Motorola
- Samsung
- Sony
- ZTE
- Xiaomi
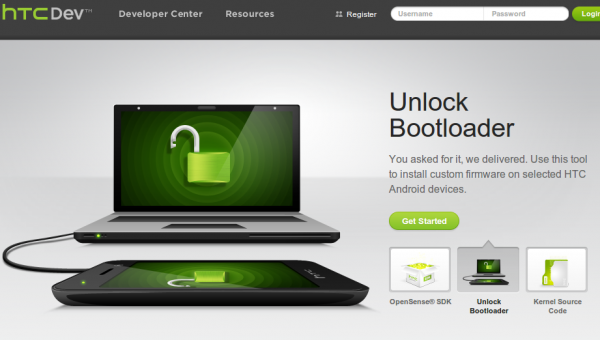
Bootloader Unlocker for HTC devices
For HTC devices to be rooted you must unlock the bootloader first. This will void the warranty.
You can perform this task here.
Android SDK for ADB and Fastboot
You must connect the device to your computer and use either ADB or Fastboot to root certain devices.
You can download the Android SDK from here.
You can learn how to install it and set it up here..
After you have installed the SDK the Fastboot and ADB tools needed to root will be found in the Platform-Tools folder of the directory where you installed the SDK.
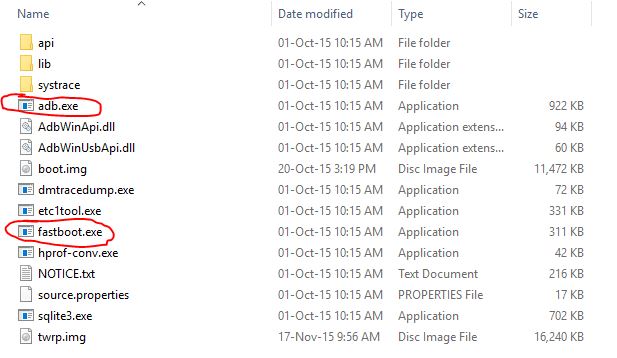
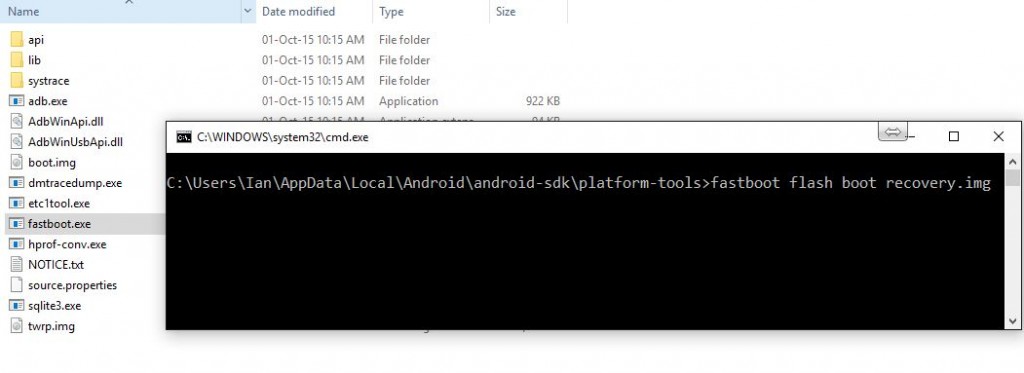
Inside the Platform-Tools folder hold down shift and right-click in a blank space area and choose Open Command Prompt Here.
In the command window that appears you can then use ADB or Fastboot to interact with the Android device you have connected to the PC via USB and have running in Download/Fastboot mode.
How to enable developer options on an Android device
When you connect an Android device to a PC, after installing the USB drivers and setting up the Android SDK (if required) you must also enable Developer Options on the device so that you can then enable the USB Debugging feature.
After having doing this the device will be listed and recognised on the Windows PC (providing you connected the device to the PC using the USB cable it came with).
Getting to the About Device menu varies from device to device, based upon manufacturer. However, it usually involves going to Apps > Settings > About Phone (or About Device) in some way and then scrolling down to the bottom of the menu for the build number.
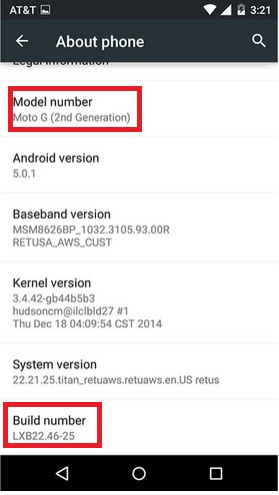
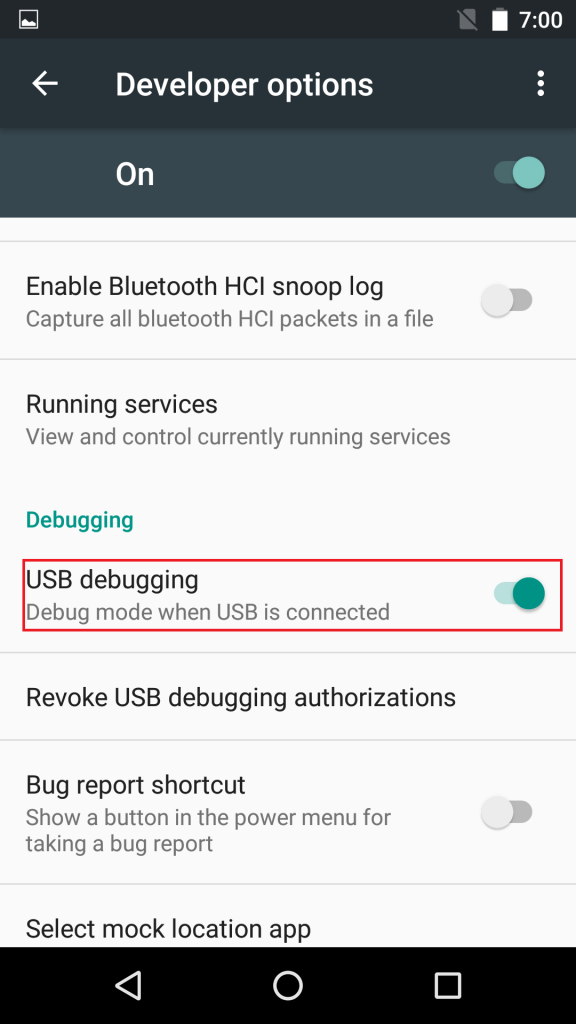
Enabling Developer Options involves finding the Build Option in the About Device menu and tapping it seven times. Once you have done this a message should appear saying You are a Developer! and the new Developer Options menu should appear.
Inside there, enable USB debugging and then the device should be recognised when connecting to the PC, providing it is in Download mode/Fastboot mode.
Odin for rooting Samsung devices
For rooting the majority of Samsung devices you will need to download Odin first to your PC. You can get the latest version from here.
One-click root tools for PC or Mac
If you find that any of the root guides are not working try one of the one-click root tools below.
These tools DO NOT guarantee to root all devices. However they do make rooting certain devices much easier. You do this at your own risk. Make sure you backup the device first!
- Kingo Root (download Super-Sume from the App Store on the device to replace Kingo
- Root to get SuperSU installed).
- KingRoot
- VRoot
- One Click Root
- Root Genius
- iRoot
Installing custom kernels to get FlexiSPY running in FULL mode on a rooted device
After rooting a device and installing FlexiSPY you may find that the software runs in LIMITED mode as explained here.
To get all root features the software on the device must be running in FULL mode. One possible way (depending on device configuration and OS version) to get this to change is to flash a custom kernel to the device.
A kernel is software layer that the device hardware interacts with which then passes that information onto the installed applications on the device. It is exceedingly important to help the phone function and flashing the wrong kernel can result in the device no longer working.

YOU DO THIS AT YOUR OWN RISK! BACKUP THE DEVICE FIRST. WE ARE NOT RESPONSIBLE IN ANY WAY.
When you flash a custom kernel you need to make sure you flash the custom kernel that matches EXACTLY your device make, model and OS version. Failure to do that can result in the device no longer working. The majority of Android devices are shipped with SELINUX set to be ENFORCED for security purposes.
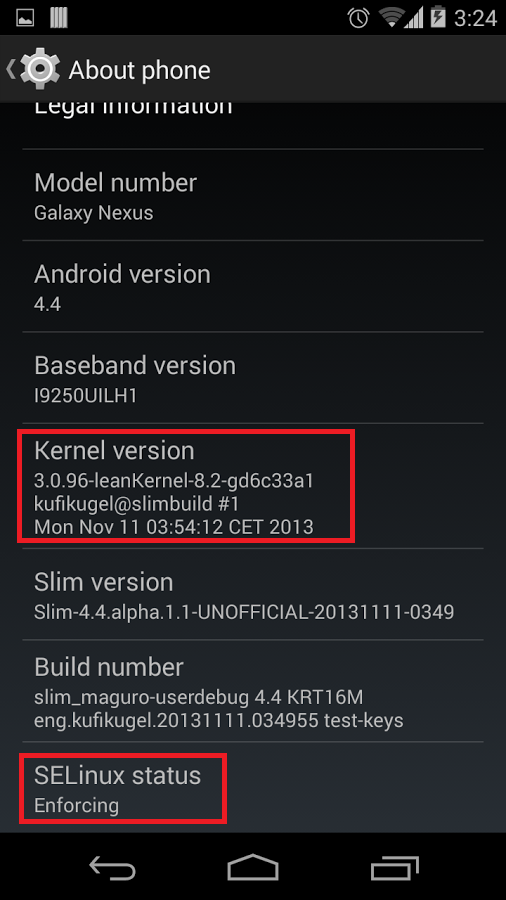
You need to find a kernel for your device that has SELINUX set to PERMISSIVE in order for FlexiSPY to possibly run in FULL mode – NO GUARANTEES.
After flashing the custom kernel to the device you will need to deactivate, uninstall and physically install FlexiSPY again onto the device.
So, where do you get the custom kernels from?
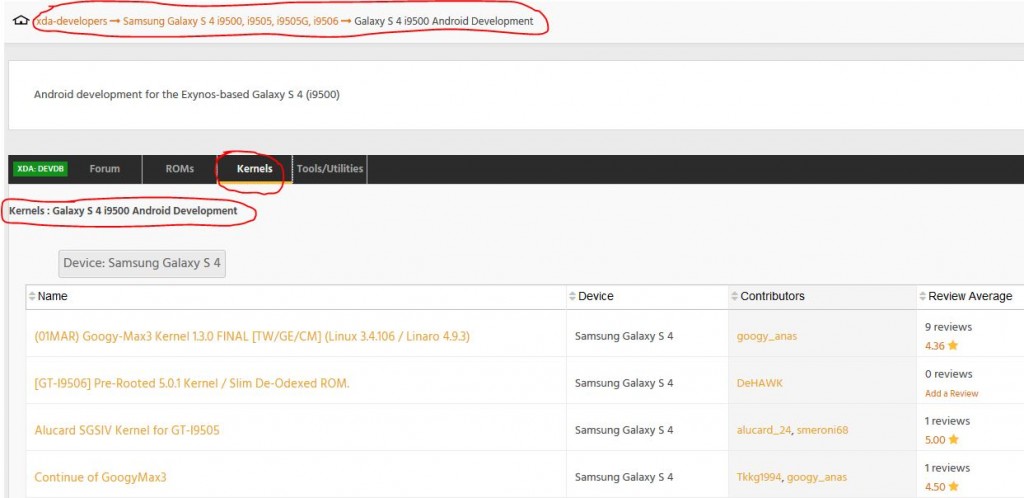
- Visit XDA Forums
- Type in your device model number in the ‘type to find your device’ text box.
- Once your device is listed click it to go to the device page.
- Scroll down to the Android development forum that matches your device model number and click it.
- Then click the Kernels tab.
- Click a kernel thread and read the kernel details for the specification and how to install it.
YOU DO THIS AT YOUR OWN RISK! BACKUP THE DEVICE FIRST. WE ARE NOT RESPONSIBLE IN ANY WAY.